A practical UK guide to checking football shirts using product codes, labels, badges, sponsors, stitching, fabric and age-consistent details.
Start with the exact shirt
Before judging labels or stitching, identify what the shirt is meant to be: team, home/away/third, season, brand, size, player name and whether it is a replica, player issue or remake. A shirt can look convincing from the front but still have the wrong product code, wrong label style or wrong manufacturing country for that exact version.
Use a full evidence set
The safest checks use the complete picture: front design, back design, neck writing, washing labels, product code, badge, sponsor, stitching and fabric. One detail rarely proves everything. Several independent details all matching the same shirt is what makes a result stronger.
The best photo order
Take the photos in this order: full front, sponsor close-up, neck label / size writing, washing labels, product-code tag if present, badge close-up, full back and any unusual detail. Blurry labels, cropped tags or missing code photos usually mean the result should be treated as lower confidence.
Start with the product code
For modern Nike, Adidas and Puma shirts, the product code is one of the strongest checks. It should support the exact club, shirt type, season and colourway. A real-looking code on the wrong shirt is a warning sign, and a supposedly unique front/authenticity code appearing on lots of unrelated shirts is a major not genuine indicator.
Check where the code is found
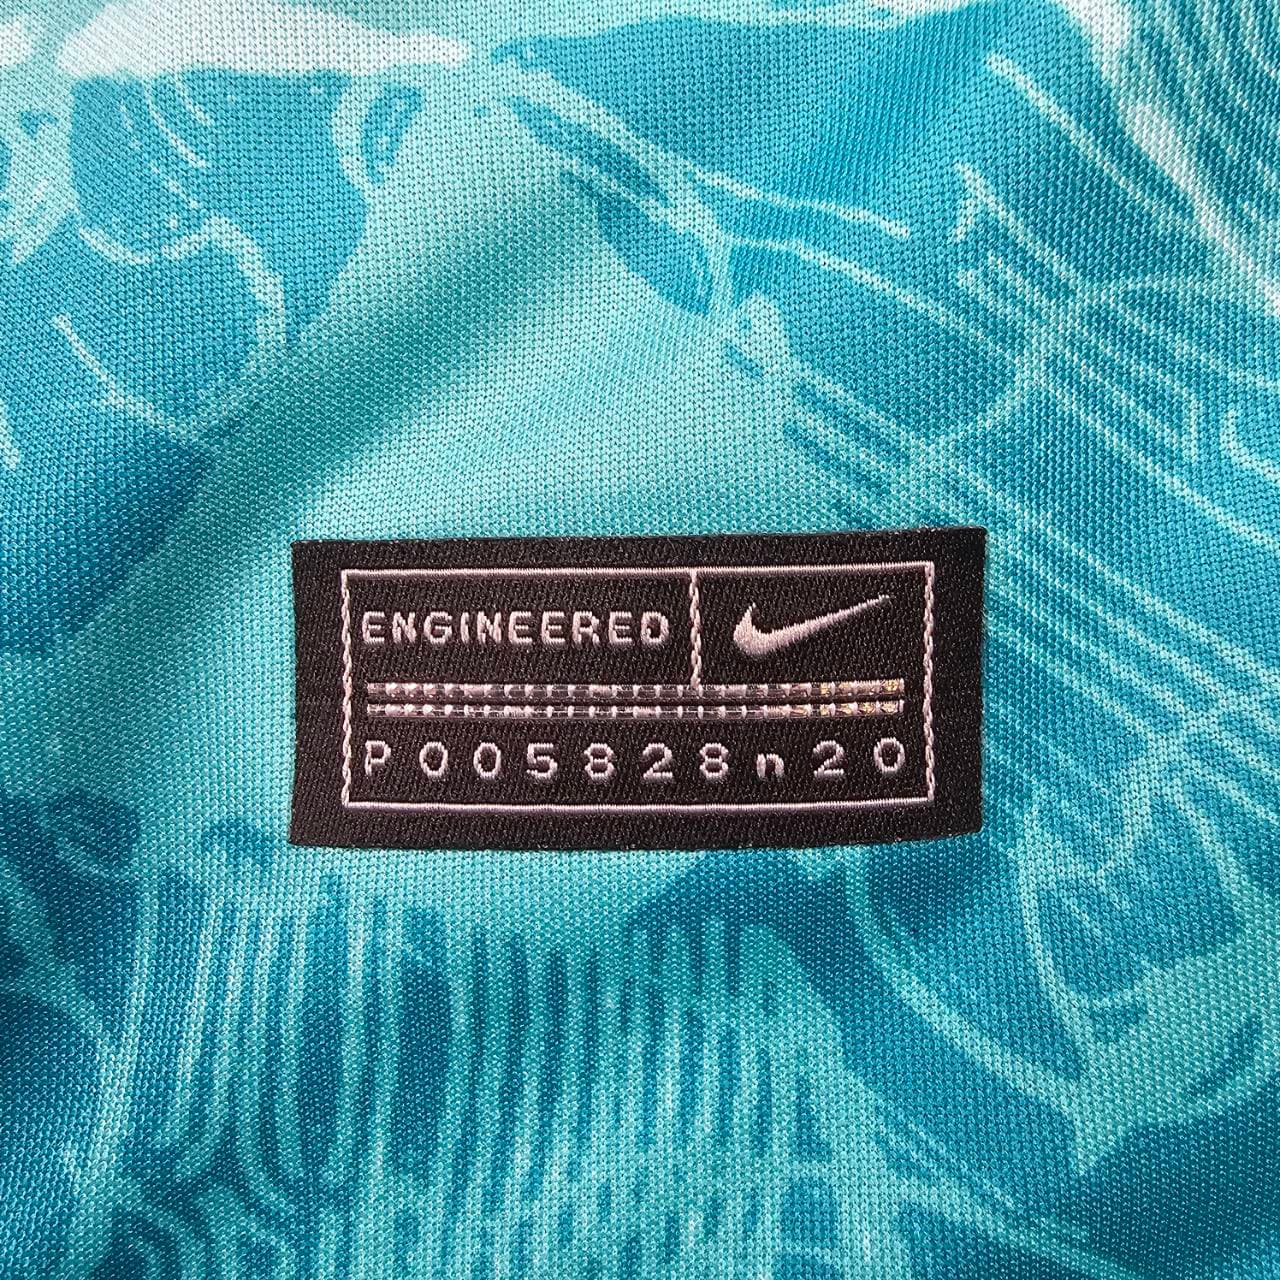
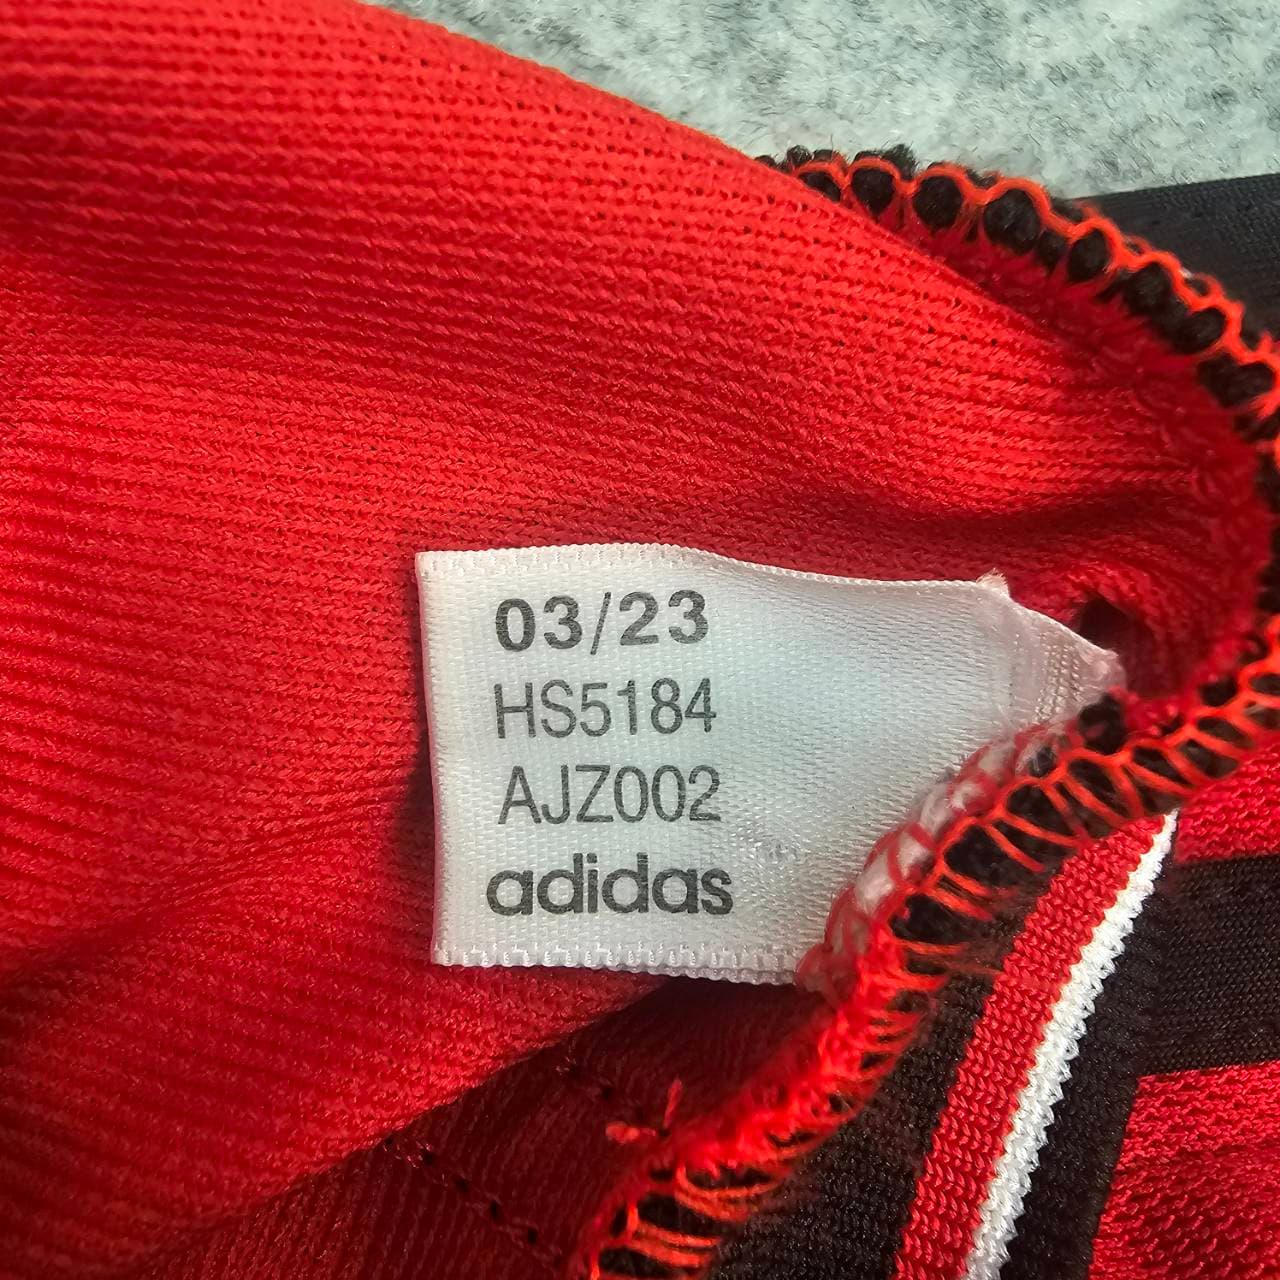
Nike product codes are usually behind the washing labels or on a small label near the label stack, often in a six-digit-three-digit format. Adidas codes are often on a small tag near the neck/shoulder area or washing labels, depending on era. Puma commonly uses a Style No or Article No. Placement changes by season, so the code location should be judged against the shirt age.
What does not prove a shirt
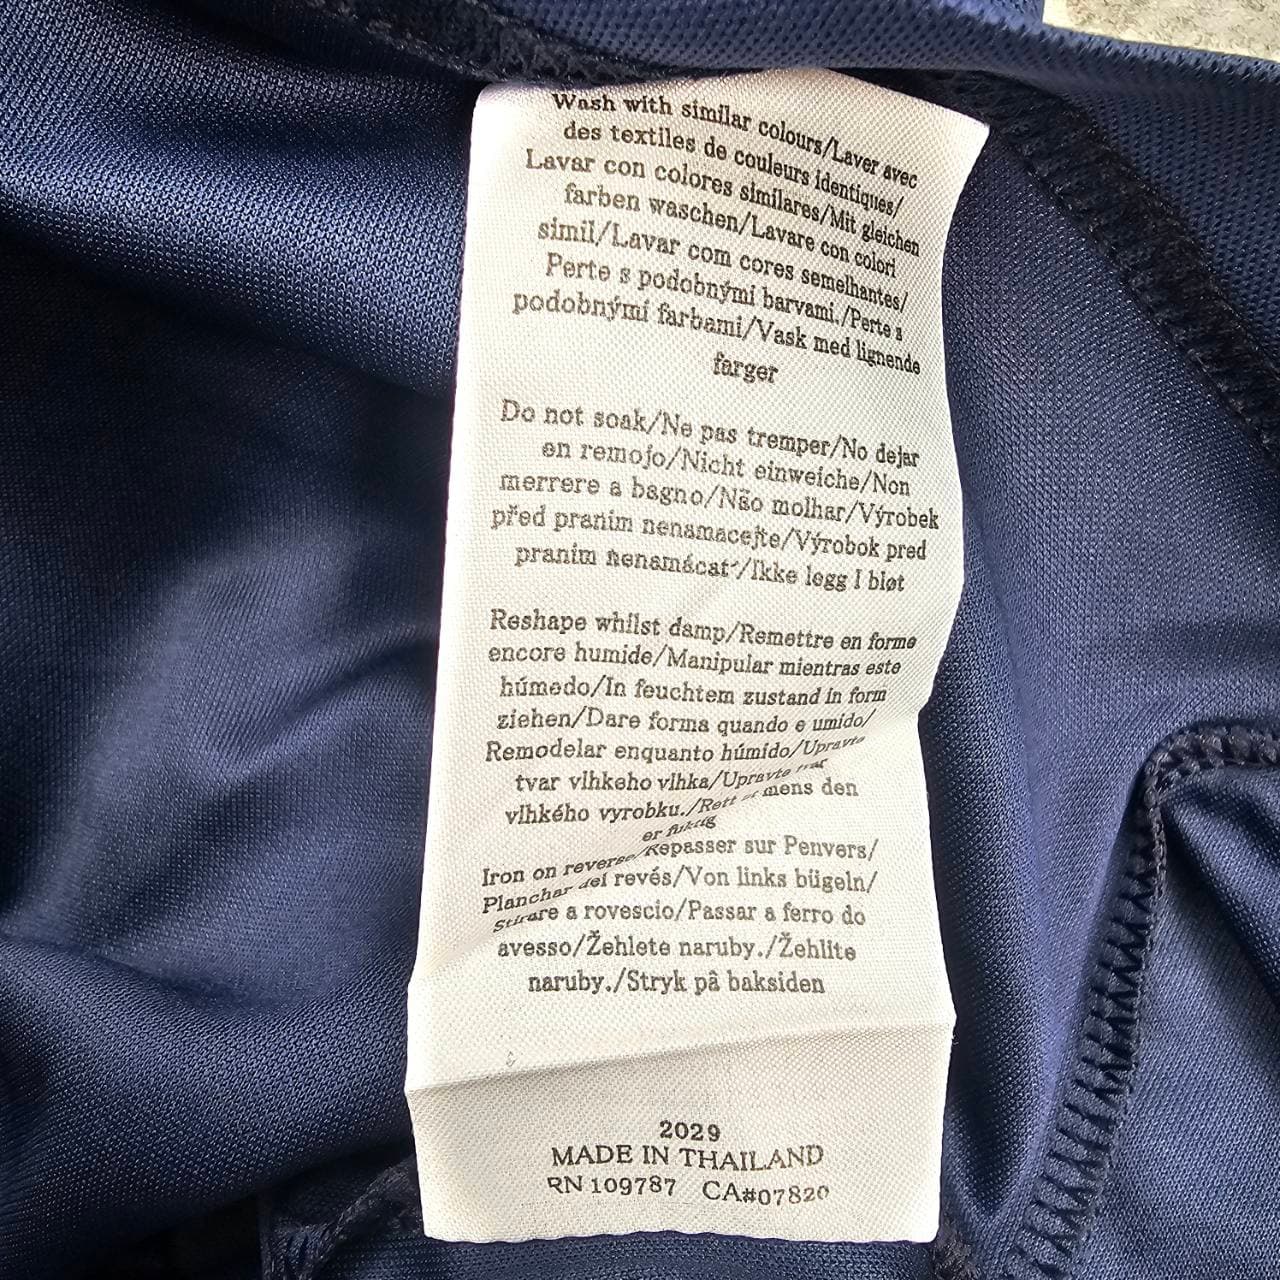
RN and CA numbers, a nice front photo, a good seller story or a single matching Google result do not prove a shirt is genuine. RN and CA numbers are usually broad manufacturer or registration numbers. A proper check needs the actual product/article code, the surrounding label construction and the item details all agreeing.
Search-result warning signs
If a unique-looking Nike front tag or authenticity patch number appears online on several different clubs, colours or seasons, treat that as a serious warning sign. Genuine product codes should point towards the right shirt, not a mixed set of unrelated shirts.
Modern and vintage checks are different
Modern shirts usually give you more label and code evidence, so missing or conflicting codes matter more. Vintage shirts can be harder because label systems changed, codes may be absent and age affects the labels. On older shirts, check whether the label wear, sponsor wear, stitching, fabric and badge construction feel consistent with the era.
Common label and code warning examples
The most useful warning signs often appear in the close-up photos rather than the front of the shirt. Reused front authenticity numbers, unsupported product-code tags and rough washing labels should be checked against the exact shirt and season.
Repeated or searchable front tag numbers can be a strong not genuine warning sign.Product-code tags should support the exact shirt, season and colourway.Wash-label typography, print quality and stitching need to match the shirt era.
Compare the neck writing and wash labels
Neck writing, size grids, country of manufacture and washing labels should make sense together. Look for blurry print, odd spacing, missing country information, spelling issues, unusual size conversions or a country shown in one place that contradicts another label.
Inspect badge and sponsor quality
Badges, swooshes, Adidas logos, Puma logos and sponsors should match the correct shirt version. Watch for rough embroidery, loose threads, distorted logo shapes, sponsor edges that feel uneven, heat press that looks too thick, or badge detail that touches edges where it should sit cleanly inside the crest.
Look for copied genuine details
Some not genuine shirts copy real shirt details well. That is why a code, badge or sponsor that looks right should still be compared with the rest of the evidence. The strongest result is when the code, label layout, country, fabric pattern, badge, sponsor and season details all support the same item.
Check age and condition
Vintage shirts should show age in a believable way. A 20-year-old wash label that looks brand new can be suspicious, but heavy wear alone does not prove authenticity. The label age, fabric feel, print condition and stitching should all tell the same story.
Use trusted references carefully
Verified examples, known genuine stock and confirmed not genuine references are more useful than random marketplace listings. Public search results can help spot repeated codes, but marketplace listings can be wrong too, so they should be treated as clues rather than proof.
When to get a second opinion
Ask for a human review when the shirt is valuable, the product code is missing or unclear, the photos conflict, or the AI result is not high-confidence. The safest checks combine readable labels with clear photos of the shirt details.
Need this shirt checked?
Upload a full set of photos and let Revive Sports run an AI authenticity assessment before you decide what to do next.